Grid Gallery Wall: How to Plan Neat Rows and Columns
A grid shows every small error, so the planning happens before the hanging. Choose the frame count, work out the overall size, mark two centerlines and build outward from the middle.
At a glance
- Difficulty
- Intermediate
- Time
- About 2 to 3 hours of planning and templating, plus hanging
- Best for
- A flat wall above a bench, console, sideboard or sofa
- Renter note
- Planning and templating need no holes; hanging does. Check your lease or ask before making changes.
What you need
- Identical frames
- Tape measure
- Level
- Pencil
- Plain paper for templates
- Card strip cut to the gap width
- Painter's tape
A grid gallery wall is the most orderly way to hang a group of pictures: identical frames in straight rows and columns, with the same gap everywhere. Done well, it reads as one calm block. Done slightly off, every wobble shows, because the eye compares each frame with its neighbors.
That is the trade. A grid asks for more measuring than a loose cluster and gives you a crisp, formal result in return. The method below settles the arithmetic on paper first, so the hanging itself is slow and uneventful.
What holds a grid together
Four things do the work, and a grid needs all of them at once.
- Identical frames. Same size, same profile, same finish, same mat opening. A set bought together is the easy route; the guide to choosing one frame style for the whole wall covers what to check before you buy.
- Identical gaps. The space between columns equals the space between rows.
- Shared lines. Every frame in a row has its top edge on one line; every frame in a column has its side edge on one line.
- One center. The whole block is centered on something: the furniture below, the wall, or the spot you look at from the doorway.
Pick the count from the wall
Let the shape of the wall and the furniture choose the shape of the grid, then let that shape choose the number of frames.
- Two by two. A compact square for a narrow wall, a reading corner or the space above a small desk.
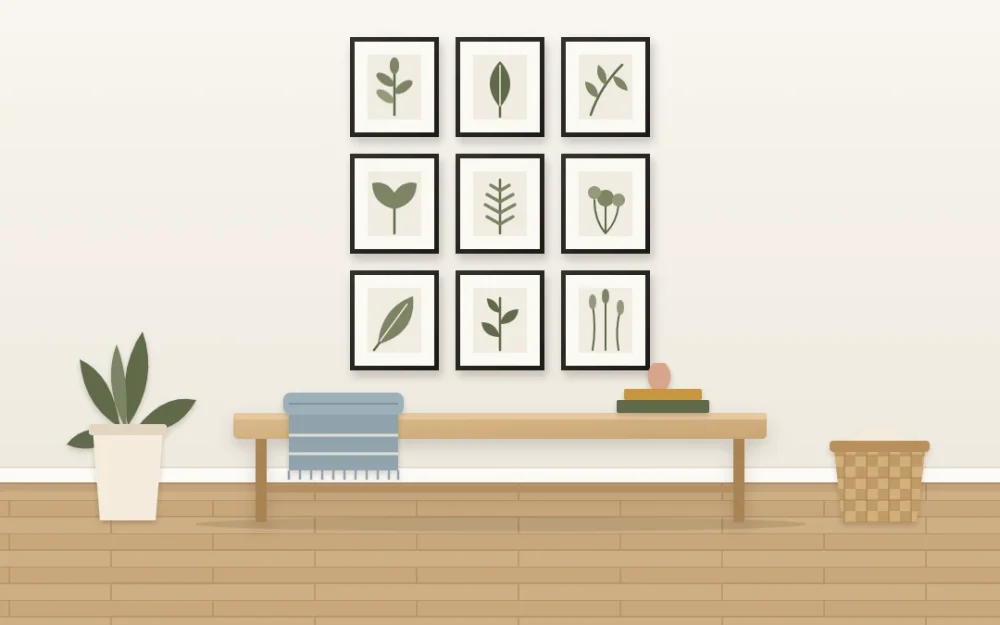
- Two rows of three. A wide rectangle that sits comfortably above a bench, a console or a two-seat sofa.
- Three by three. A large square with real presence. It needs a wall with height to spare.
- A long two-row band. Two rows of four, five or more, for a long sideboard or a dining wall.
A grid that is clearly narrower than the furniture below it usually looks settled. One that overhangs the furniture tends to look top-heavy.
Work out the overall size before you buy
The block is bigger than it looks in your head, so calculate it. For the width, multiply the frame width by the number of columns, then add one gap for every space between columns. Do the same with frame height and rows.
An example: three columns of frames that are 12 in (30 cm) wide, with gaps of 2 in (5 cm), come to 12 + 2 + 12 + 2 + 12, or 40 in (about 102 cm). Treat that gap as a starting point, not a fixed number. The gap that suits your grid depends on the frame dimensions, the wall, the furniture below and your own taste, and the article on how far apart to hang frames walks through those choices.
If the total is too wide, you have three levers: a smaller frame, a tighter gap or one column fewer. Change one at a time and add it up again.
Mark the two centerlines
Every position in a grid is measured from two lines, not from the previous frame. That matters, because measuring frame to frame lets a small slip grow as it travels across the wall.
- Find the point the grid will be centered on and mark it lightly in pencil.
- Draw or tape a vertical line through it, checked with a level.
- Decide the height of the middle of the block and mark a horizontal line there, also checked with a level.
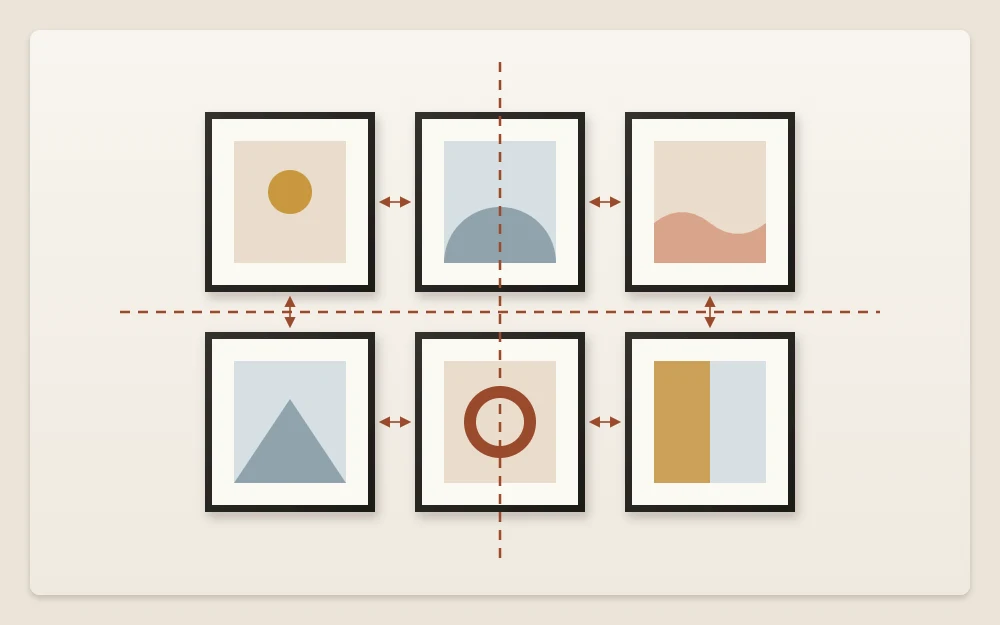
With an odd number of columns, the middle column sits on the vertical line. With an even number, the line runs down the middle of the central gap. The same logic applies to rows and the horizontal line.
Template, check, then hang outward
- Cut one paper template per frame and mark where the hanging point sits on each, following the method in the guide to testing a layout with paper first.
- Cut a strip of card to the exact width of your gap. Use it as a spacer instead of re-measuring each time.
- Tape up the templates nearest the center, then work outward along each row and column, checking each edge with the level.
- Step back to the far side of the room. Look for a row that climbs or a column that leans, and correct the paper, which costs nothing.
- Fix the central frames first, check them, and continue outward.
Before you hang anything
Choose mounting hardware to suit your wall type and the weight of each frame, and follow the hardware manufacturer instructions. Frames with two hanging points stay straighter than frames with one, which helps a grid. If you tape templates up with painter’s tape, remember that paint finishes and surfaces vary: test the tape in a hidden spot first and follow the manufacturer directions for use and removal.
When the room itself is not level
Floors, ceilings and furniture are often slightly out of true, and a grid sits close enough to them to reveal it. A level gives you one answer; your eye may prefer another.
- If the grid hangs just above a bench, console or sofa back, follow the furniture line. A grid that is level but visibly not parallel to the furniture beneath it looks crooked.
- If it hangs close to the ceiling or a strong molding, favor that line instead.
- If it floats in the middle of the wall with nothing nearby, trust the level.
When two lines disagree, split the difference and judge the templates from across the room before committing. Pieces above a sofa need to be securely fixed, whichever line you follow.
Art that suits a grid
Because the frames are the same, the pictures can vary a little, but a grid is at its best with a series. Good candidates are your own photos from one trip, pressed botanicals, a run of children’s drawings on the same paper, or a set of prints bought from one maker.
Keep the visual weight similar from frame to frame so no single picture pulls the eye out of the pattern. Wide mats help: they give every image the same quiet border and make modest pictures feel deliberate.
Tip
Buy one or two spare frames from the same batch. Finishes shift between production runs, and a spare lets you replace a damaged frame without breaking the match.
Frequently asked questions
How many frames do I need for a grid gallery wall?
It depends on the wall and the furniture below it. Four frames in a two-by-two square suit a narrow wall, six in two rows of three suit a bench or small sofa, and nine in a three-by-three square suit a taller wall. Add up frame sizes and gaps before buying to check that the block fits.
Do all the frames in a grid have to be the same size?
For a true grid, yes. Rows and columns only line up when every frame shares the same outer dimensions, and the pattern is what makes the arrangement look calm. If your frames differ in size, a symmetrical cluster or a loose arrangement will be far easier to make look intentional.
Why does my grid look crooked even though I used a level?
The furniture, floor or ceiling near it may not be level, and the eye compares the frames with those lines. Check whether the bottom row runs parallel to the furniture beneath it. Adjusting the block to follow the nearest strong line, or splitting the difference, often looks straighter than a strictly level result.